Been exploring Porteus for a while, and though I have no doubt that it is an excellent replacement for the Puppy Linux live cd, I could sense that it is much more than just a tiny little OS that can boot from a live cd. I read through some articles on how to install it to a USB and use it as a complete portable solution with changes that could be saved onto the USB itself. That way you carry your work and software with you anywhere you go. All you need is a laptop that you can “borrow”, boot into Porteus off the USB and get going. I am just listing steps that I took to get this working the way I wanted.
Manually creating the Porteus bootable USB required a few trivial steps. I opted to use a 16GB pen drive that I had with me. Though 16GB is way generous for this experiment, I planned to install Porteus on it as well as keep the rest of the space accessible to Windows machines, so it doubles up as storage device as well as a bootable linux system. Good way to go about this is the format the USB as FAT32, which will be accessible to windows and linux machines alike. Using a FAT32 formatted drive for Porteus requires use of a .DAT container to save changes that are made to the Porteus installation, I will get there in a while.
On a freshly FAT32 formatted drive, I created two folders “PorteusLive” and “Documents” with intention of installing Portues under “PorteusLive” and using “Documents” as the external folder where I can just drop in contents whenever I am using this as a regular storage device. The Porteus iso is just about 170MB and if you look into the iso contents, it has boot and porteus folders. The next step was to extract /boot and /porteus to the “PorteusLive” folder that I had just created. Any archive manager will help you with this step. Alternate way is to mount the iso and then manually copy the folders to target folder.
Next step was to open the terminal and go to the boot directory on the pen drive. Run the installation script as root
sudo sh Porteus-installer-for-Linux.com
This installed the bootloader onto the pen drive (/mnt/sdb1/). It asked for confirmation for the drive it is trying to install Porteus to. Entered “ok” to proceed.
Installing Porteus to /dev/sdb1

WARNING: Make sure this is the right partition before proceeding.

Type 'ok' to continue or press Ctrl+c to exit.
The installation detected that I was trying to install under a sub-directory “PorteusLive” and not at the root of the USB drive. Porteus installer attempted to change the locations so that it knows where to boot from. These changes got saved to the proteus.cfg file.
Updated /media/KOOLKSP/PorteusLive/boot/syslinux/porteus.cfg

Installation finished successfully.

You may reboot your PC now and start using Porteus.

Please check the /boot/docs folder for additional information about

the installation process, Porteus requirements and booting parameters.

In case of making tweaks to the bootloader config,

please edit: /media/KOOLKSP/PorteusLive/boot/syslinux/porteus.cfg file.
That successfully installed Porteus onto the USB drive under the “PorteusLive” folder. It was time to test this. Rebooted the laptop and selected boot from the USB from BIOS options. If booting from USB isnt supported, you could still use the Porteus live cd to boot the machine and then use the Plop Boot Manager include in the cd to select the USB drive to boot from.
On first boot, Porteus detected that it is being booted from a FAT32 formatted device and needs to configure a save file to continue. It then fell back to a “fresh start” mode and loaded the default system. Now I had to create a .DAT container for Porteus so that it is able to save changes made to the system and load them the next time the system boots. Found that under “System -> Porteus save file manager”. Chose to create a new save file, it asked a size and location of the file. 512MB was sufficient initially which could later be increased if required. The location of the save file should be set to /portues on the USB drive. In my case it was mounted at location /mnt/sdb1/PorteusLive/porteus/ and I saved the file as default name “porteussave.dat”. It took a while to create this save file, and the location of the save file needed to be configured into the cfg file. Edited boot/syslinux/porteus.cfg as root and changed the line starting with APPEND to changes=/PorteusLive/porteus/porteussave.dat for the graphical boot option. So that on next boot, porteus is aware of the save file location and persists any change made to the system.
Rebooted again and this time Porteus detected the save file and read its content before loading. As of now it was empty so no changes are reflected. I made some changes like reorganizing the panels, changing time zones etc. These changes were reflected on next reboot as well. So the save file that I configured was working as expected.
Next step was to make some cosmetic changes, so I installed some themes and icons as usual. Just tyring to spice up the desktop. These icons and themes can go into the /home/guest/.icons and /home/guest/.themes folder, but a better option is to copy them over to /usr/share/icons and /usr/share/themes so that they are available when running applications as root as well. Without this, when you run something as root, the xfce windows manager falls back to some default icons and theme settings which ruins the look and feel completely. This time I went with the Radiance Teal theme and Flattr icons. Previously installed ultra-flat-icons didnt seem to go well with the Radiance theme. Flattr felt more at home. Changed the wallpaper as well. All these changes are saved to the DAT file and will be reflected everytime I boot from the USB.
When all looked nice and functional and comfortable, I stopped with my tinkering and looked back at a beautiful desktop booted off an USB drive.
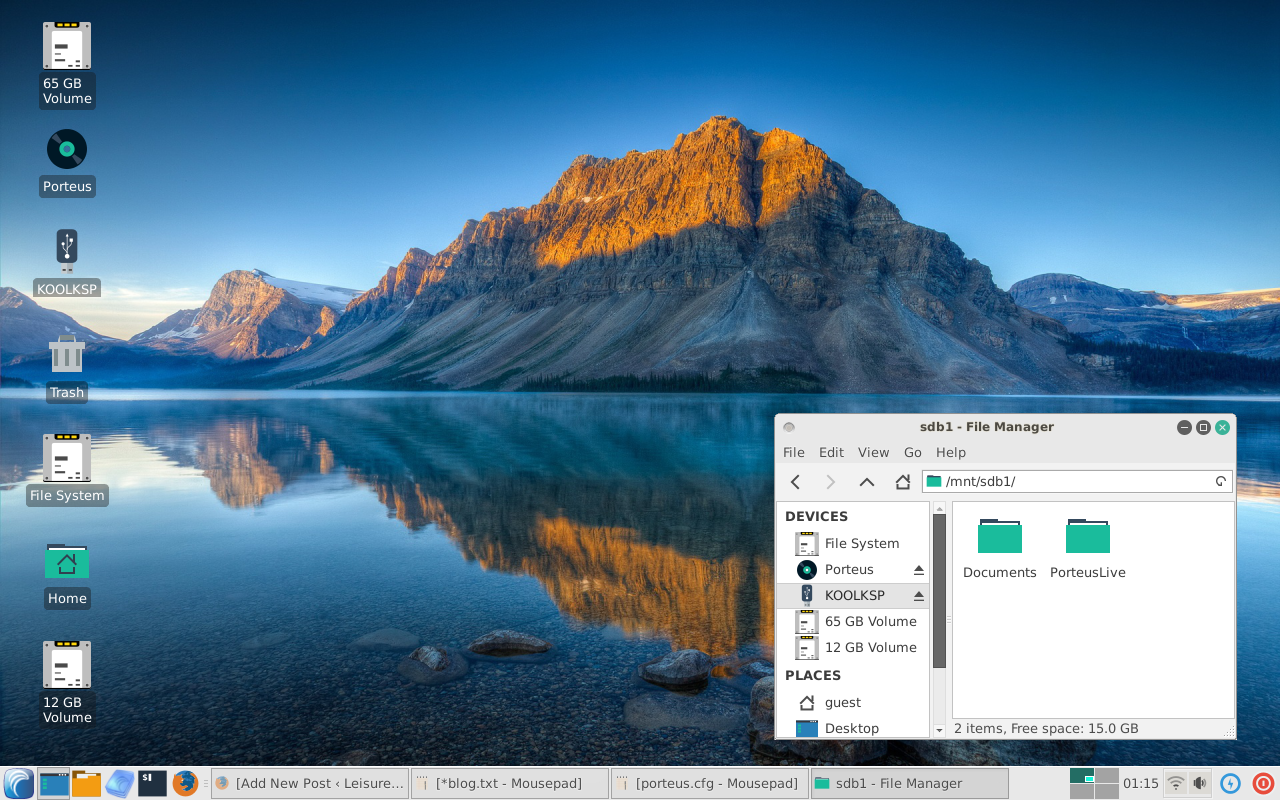
That is what I can now carry in my pocket anywhere I go and boot into a fully functional portable linux desktop. Portues still takes about 170MB of space on the USB, with the additional 512MB save file, but thats about it. The rest of the drive is available as a storage device which I can use on windows and linux machine alike. It is also available from within Portues as a mounted drive where I can copy files if I have to use them outside Porteus. Only issue I face here, is the guest user on Porteus needs root access to the /mnt/sdb1/Documents folder which resides outside the Portues space. But its hardly a deal breaker and the work around is to trasfer files using Thunar as root.
With that I think my curious little experiment with Proteus has been a success. It time to show it off to a few friends and check their reactions. Uber Cool!


